How to Download Photos from Dropbox
This tutorial is made for Windows based PC using Chrome internet browser. For Mac OS tutorial, please follow this link. Most of the steps are the same for other browsers like Internet Explorer, Edge, or Firefox. Context menu and wording may change, but the main steps are the same.
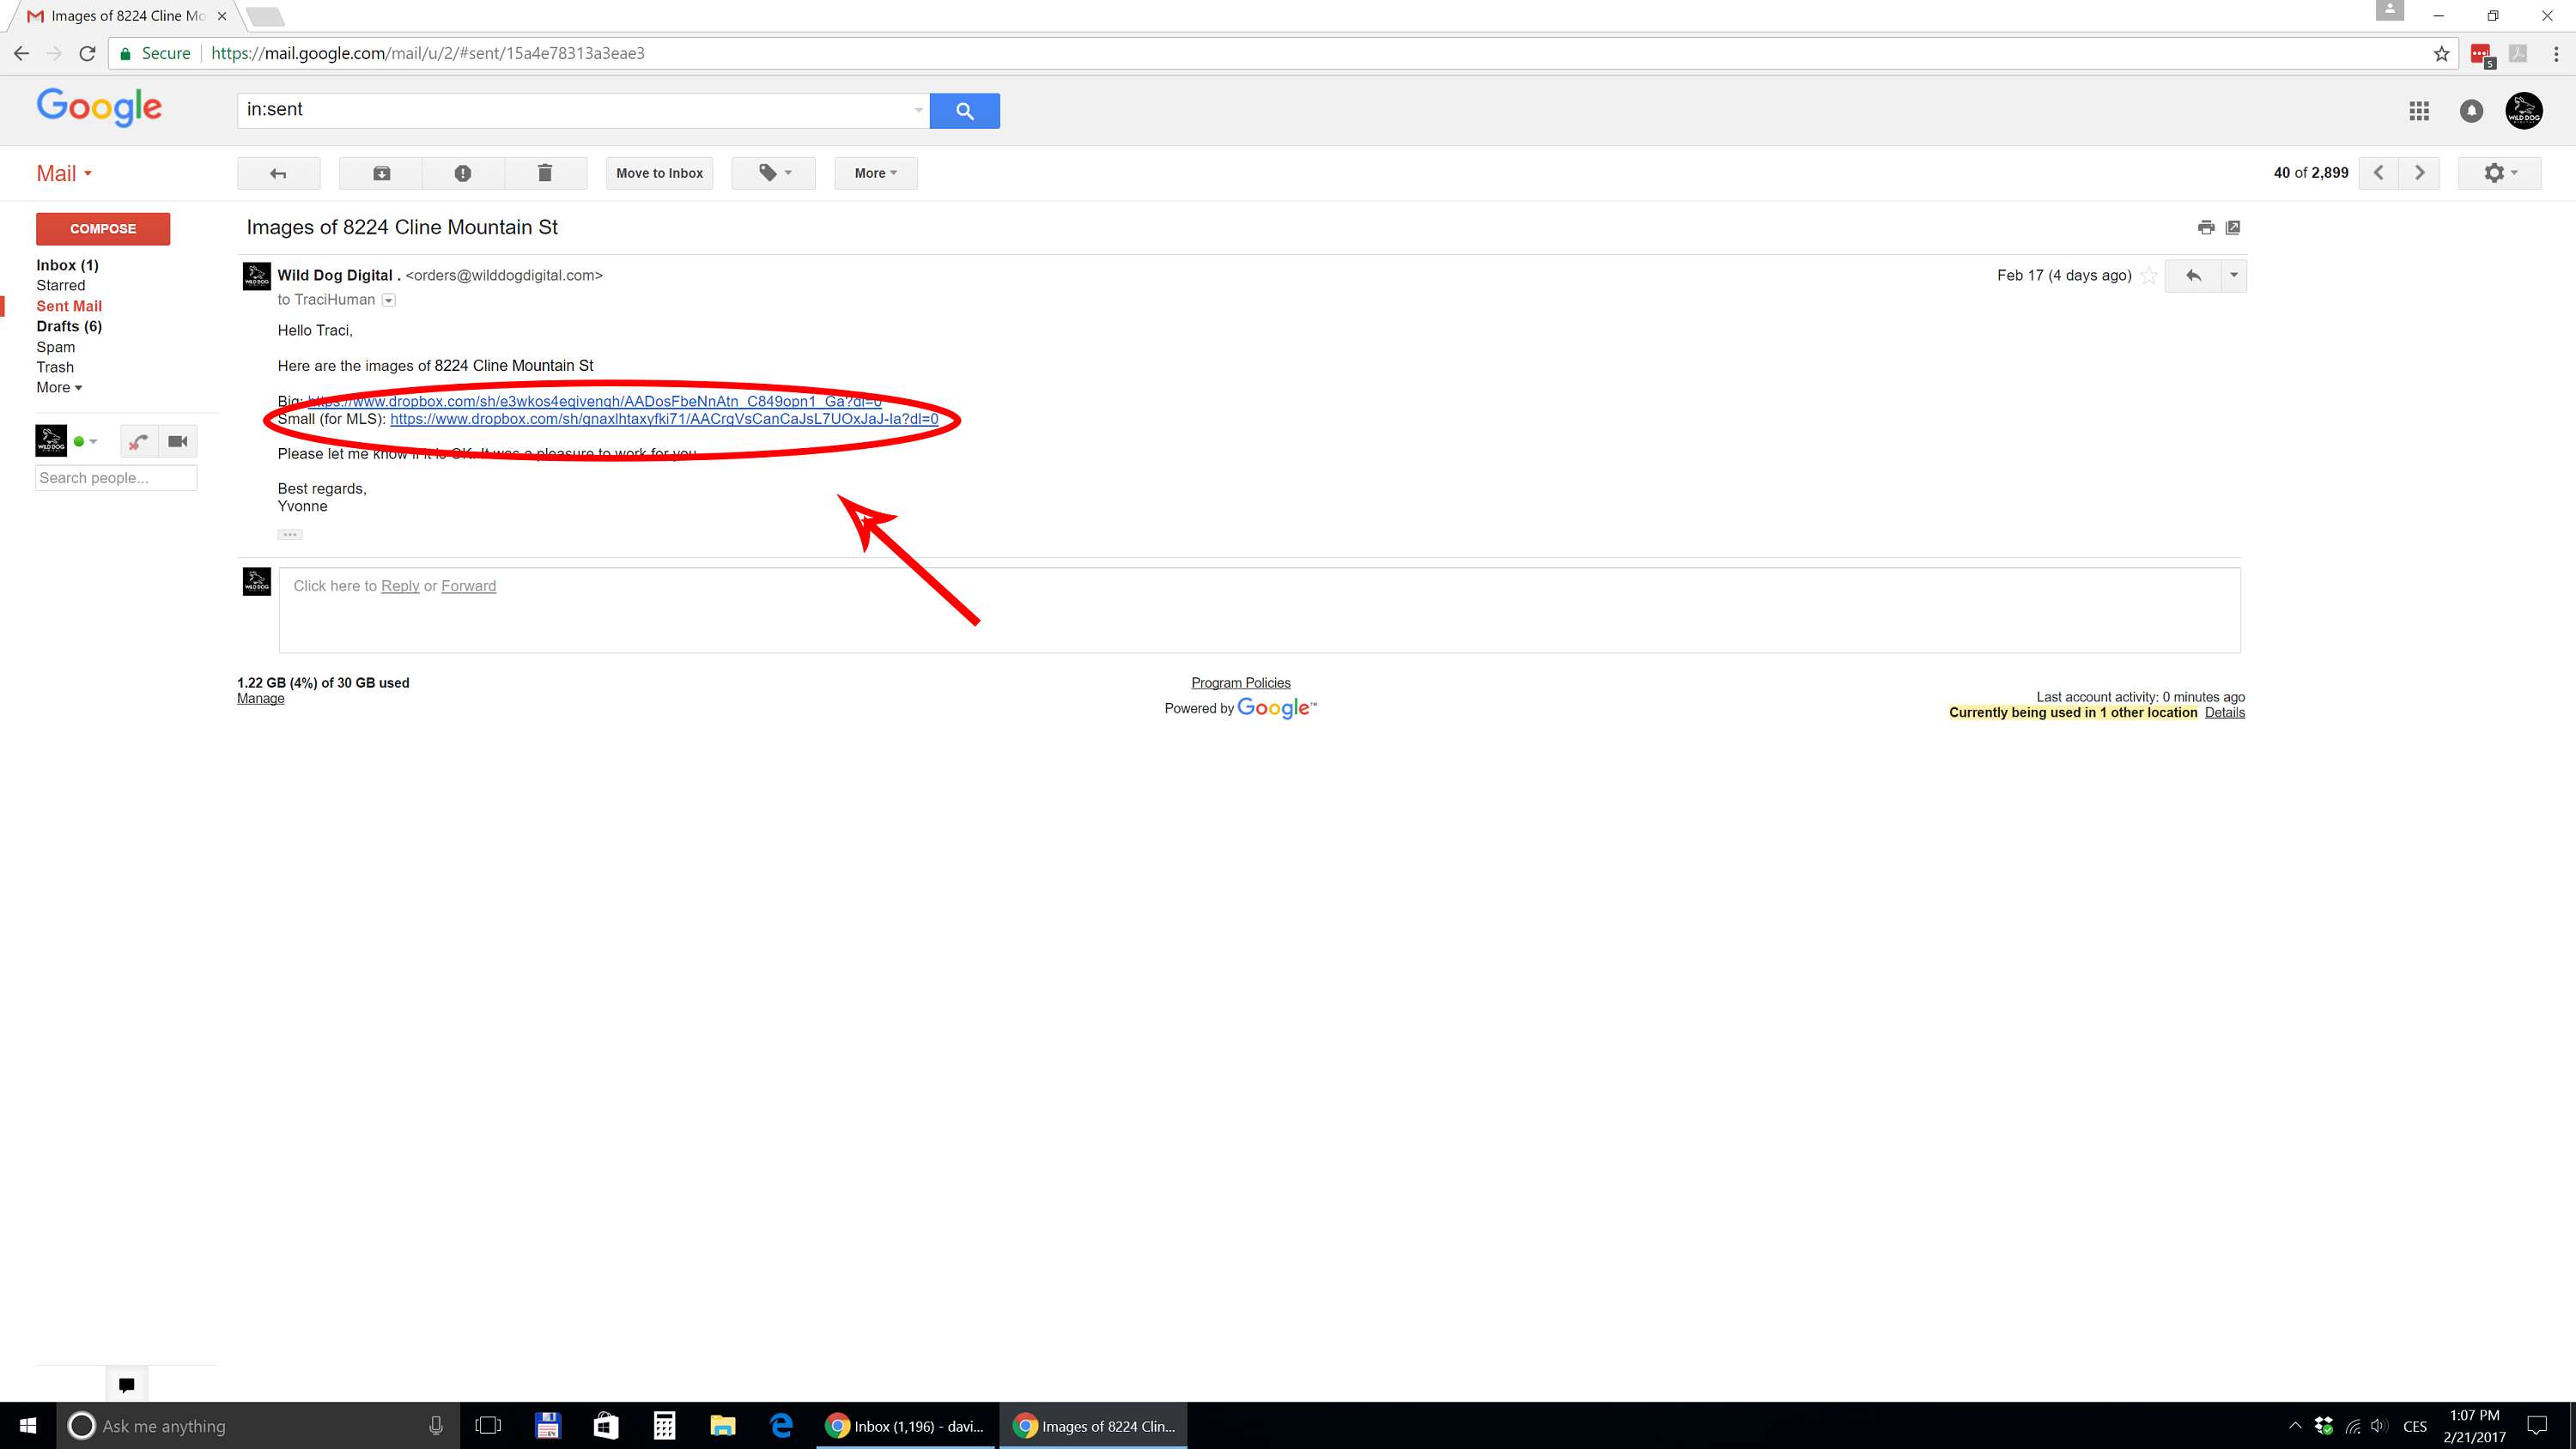
- Locate the download link in your email. “Small” contains photos resized for MLS, internet marketing and sending via email. “Big” contains photos in highest resolution and biggest file size for print.
- Click on the link to get to the Dropbox page.
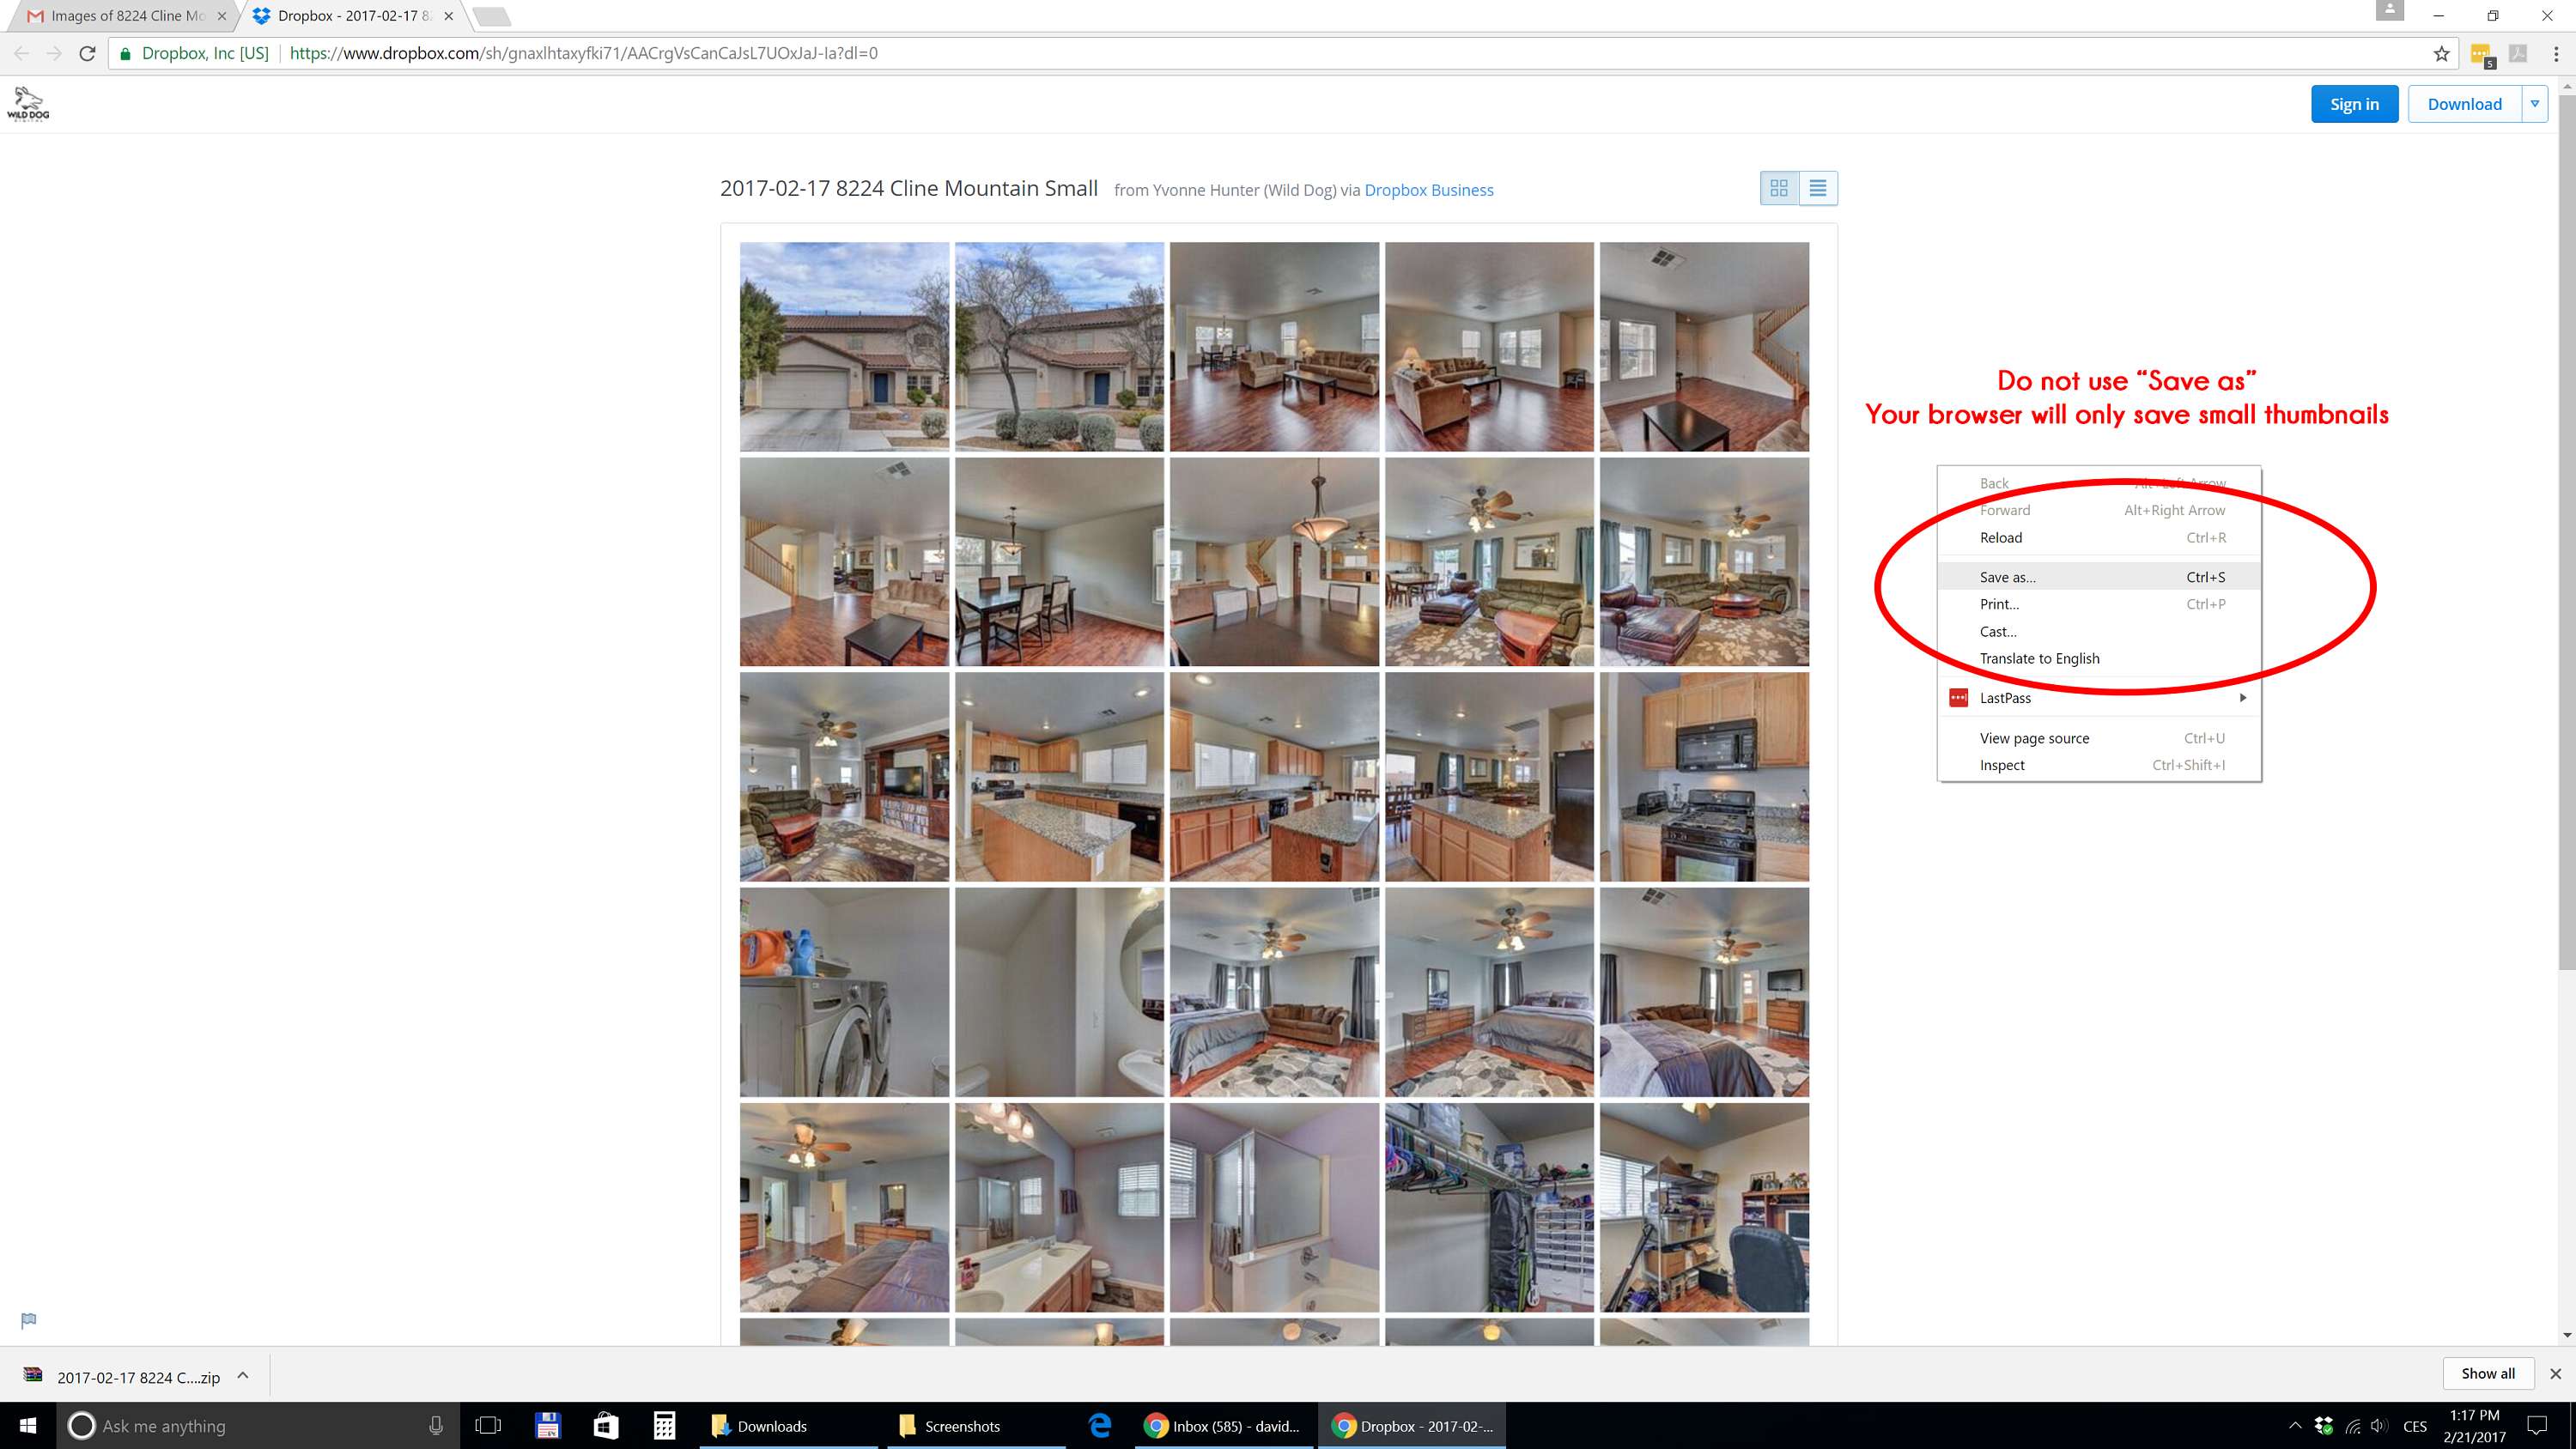
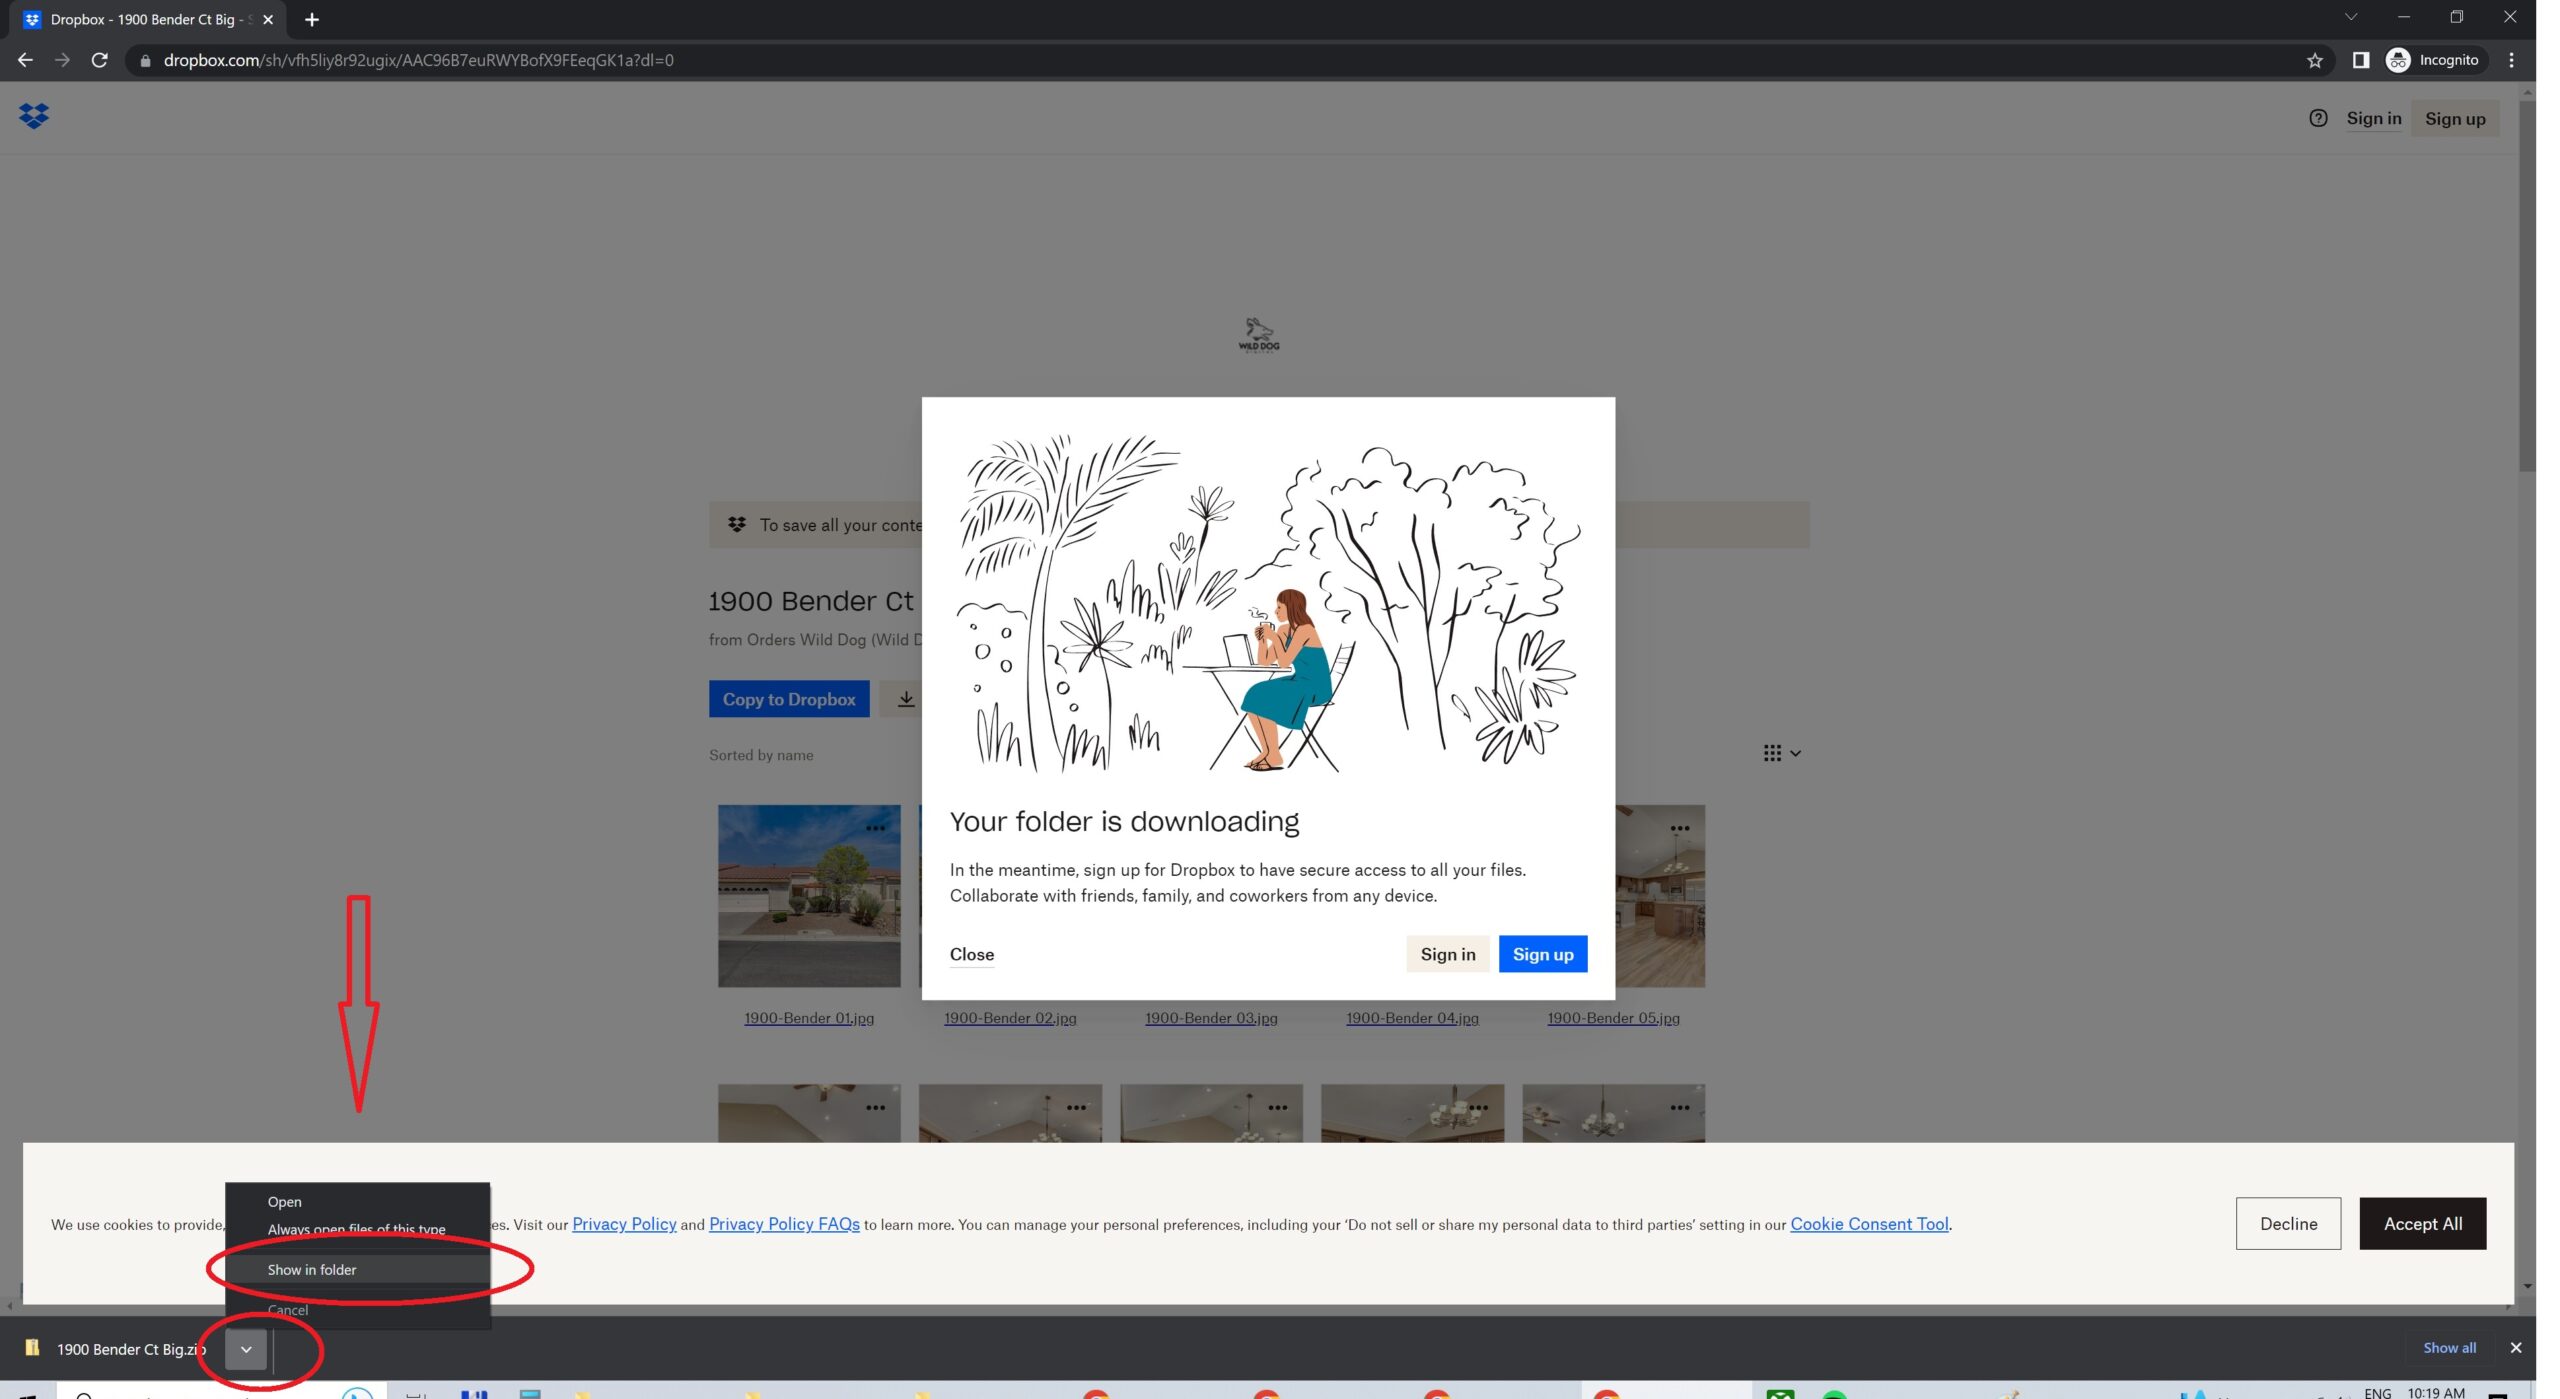
- Locate the “Download” button above the images.

- Your web browser will initiate a download of single ZIP archive file, which contains all of your photos.
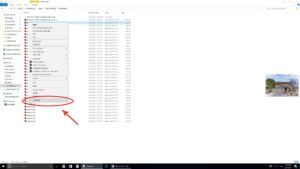
- After the download is complete (see the download status bar in your browser), click on the arrow next to the downloaded file name and choose “Show in folder”. That should take you to the folder where your web browser stores all downloaded files. In case you do not see the download progress bar, locate the download folder via your web browser menu, settings or help page.
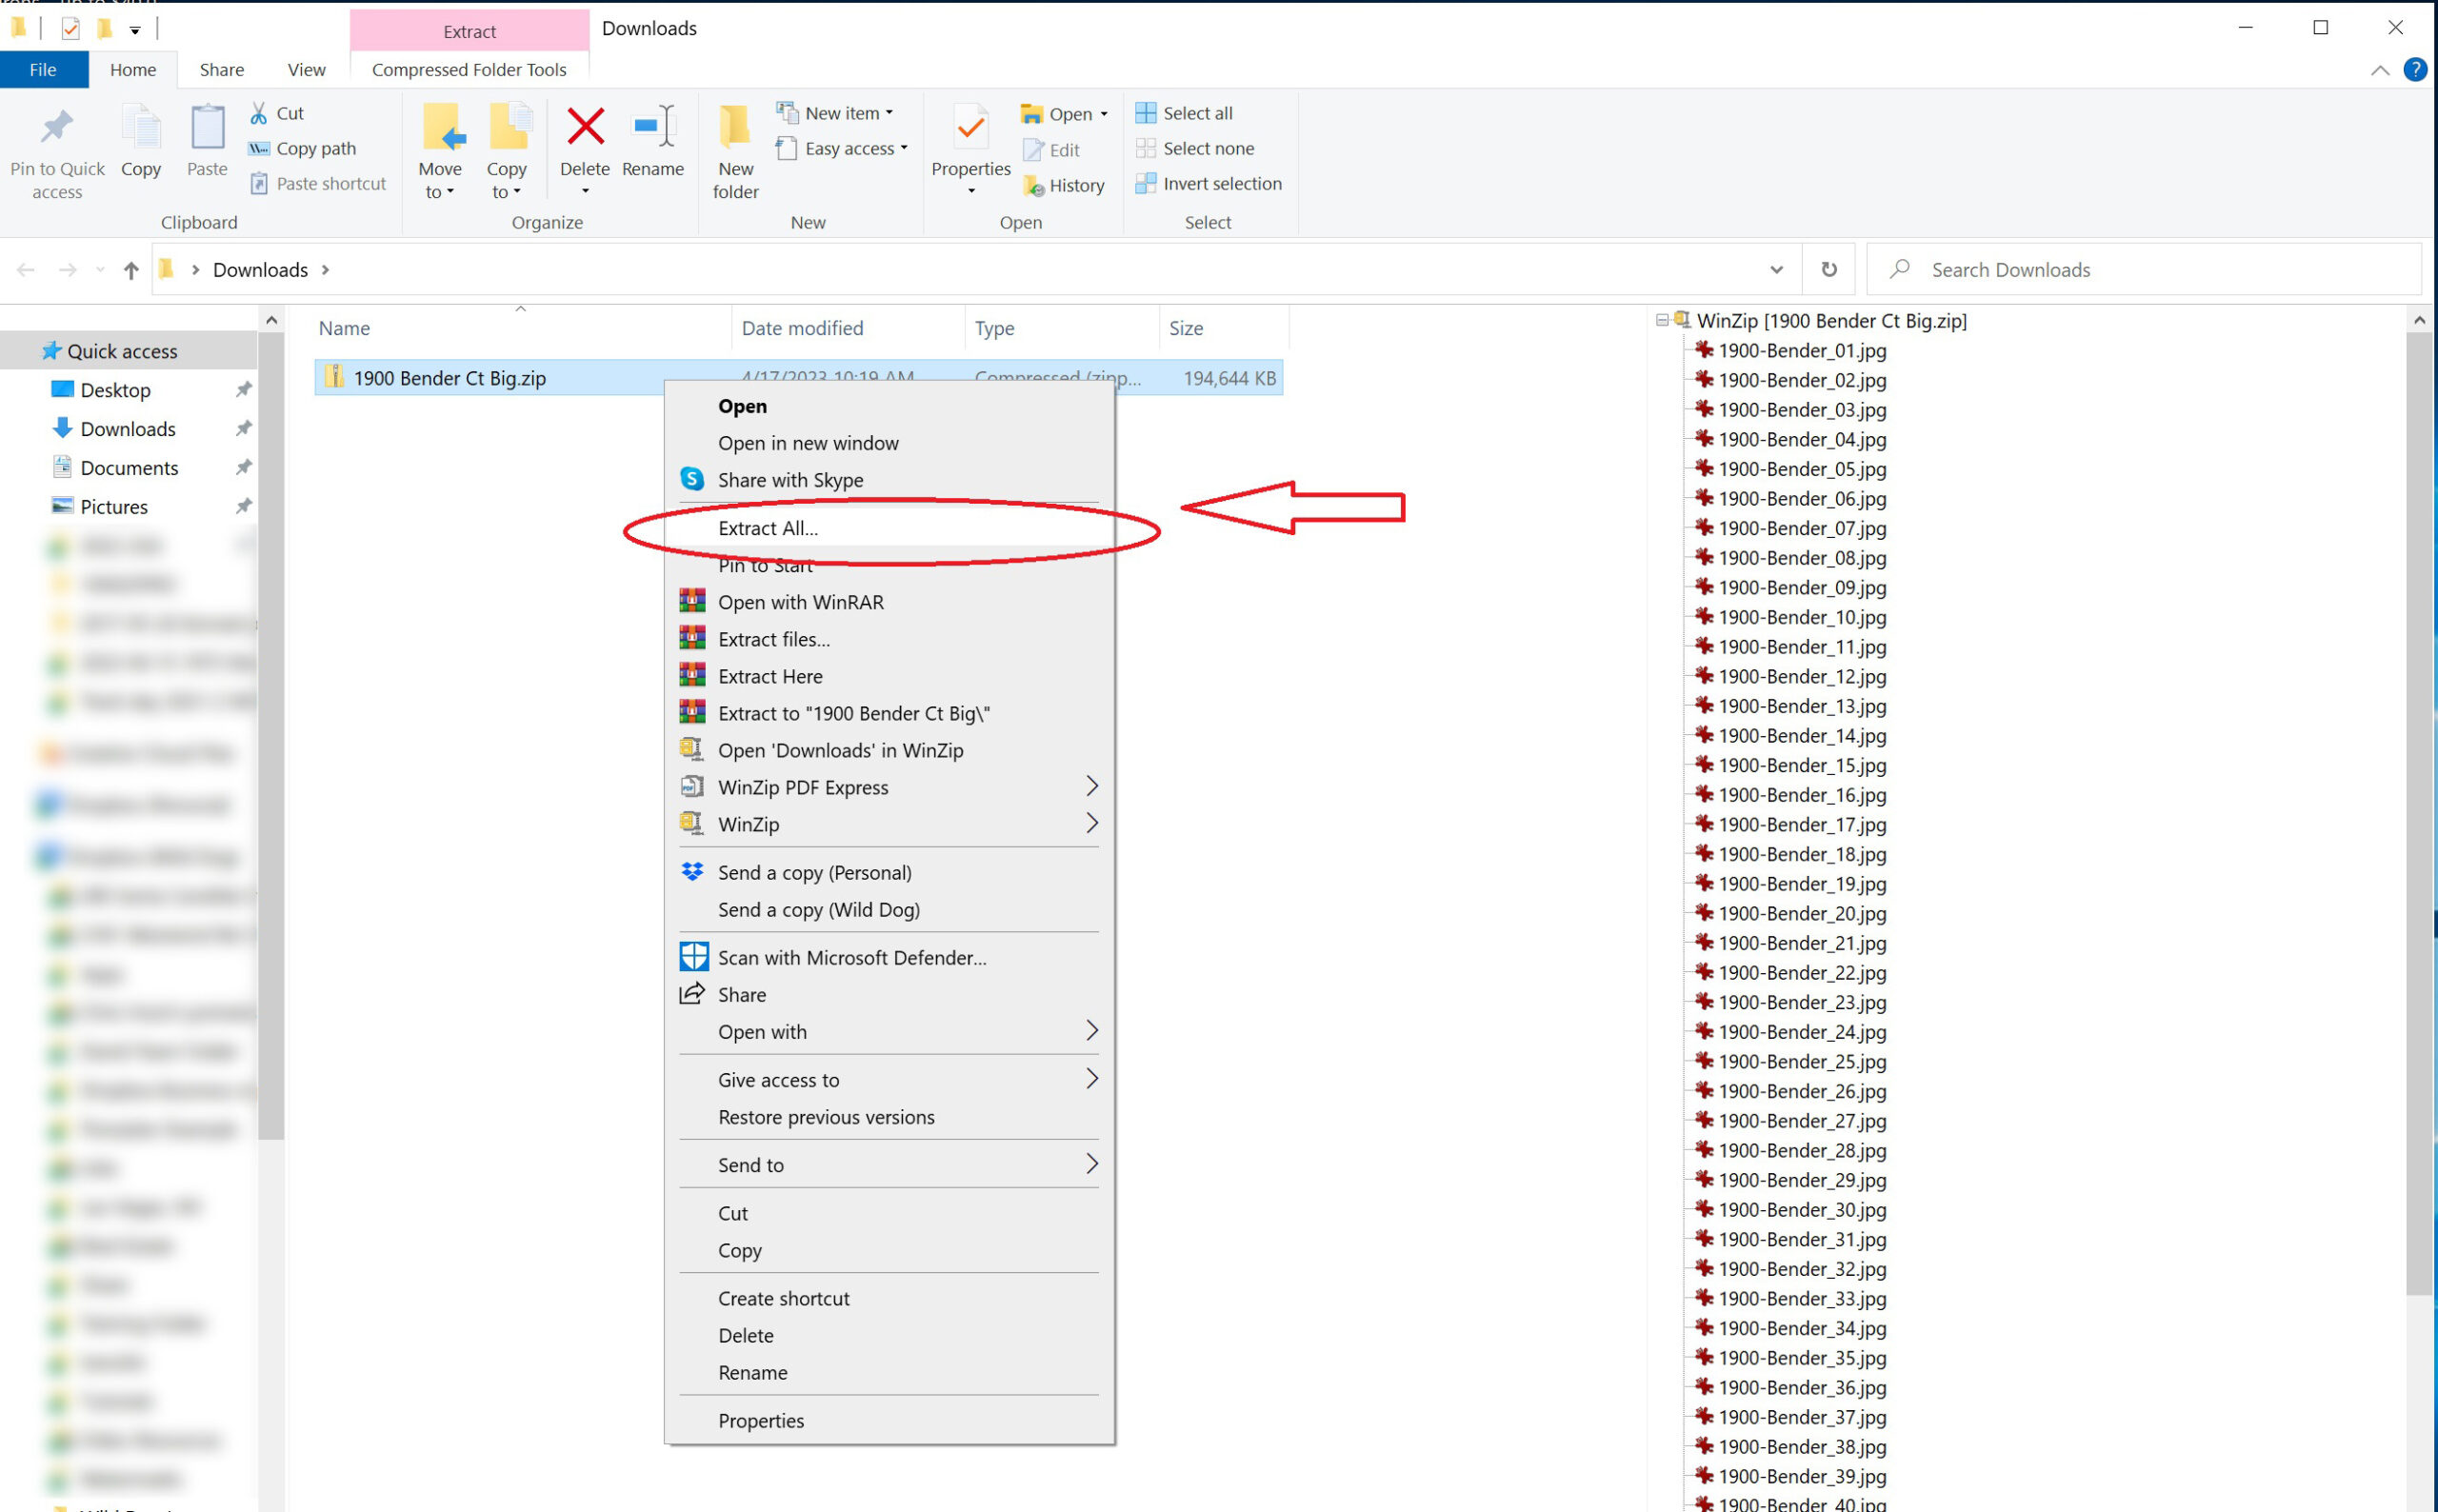
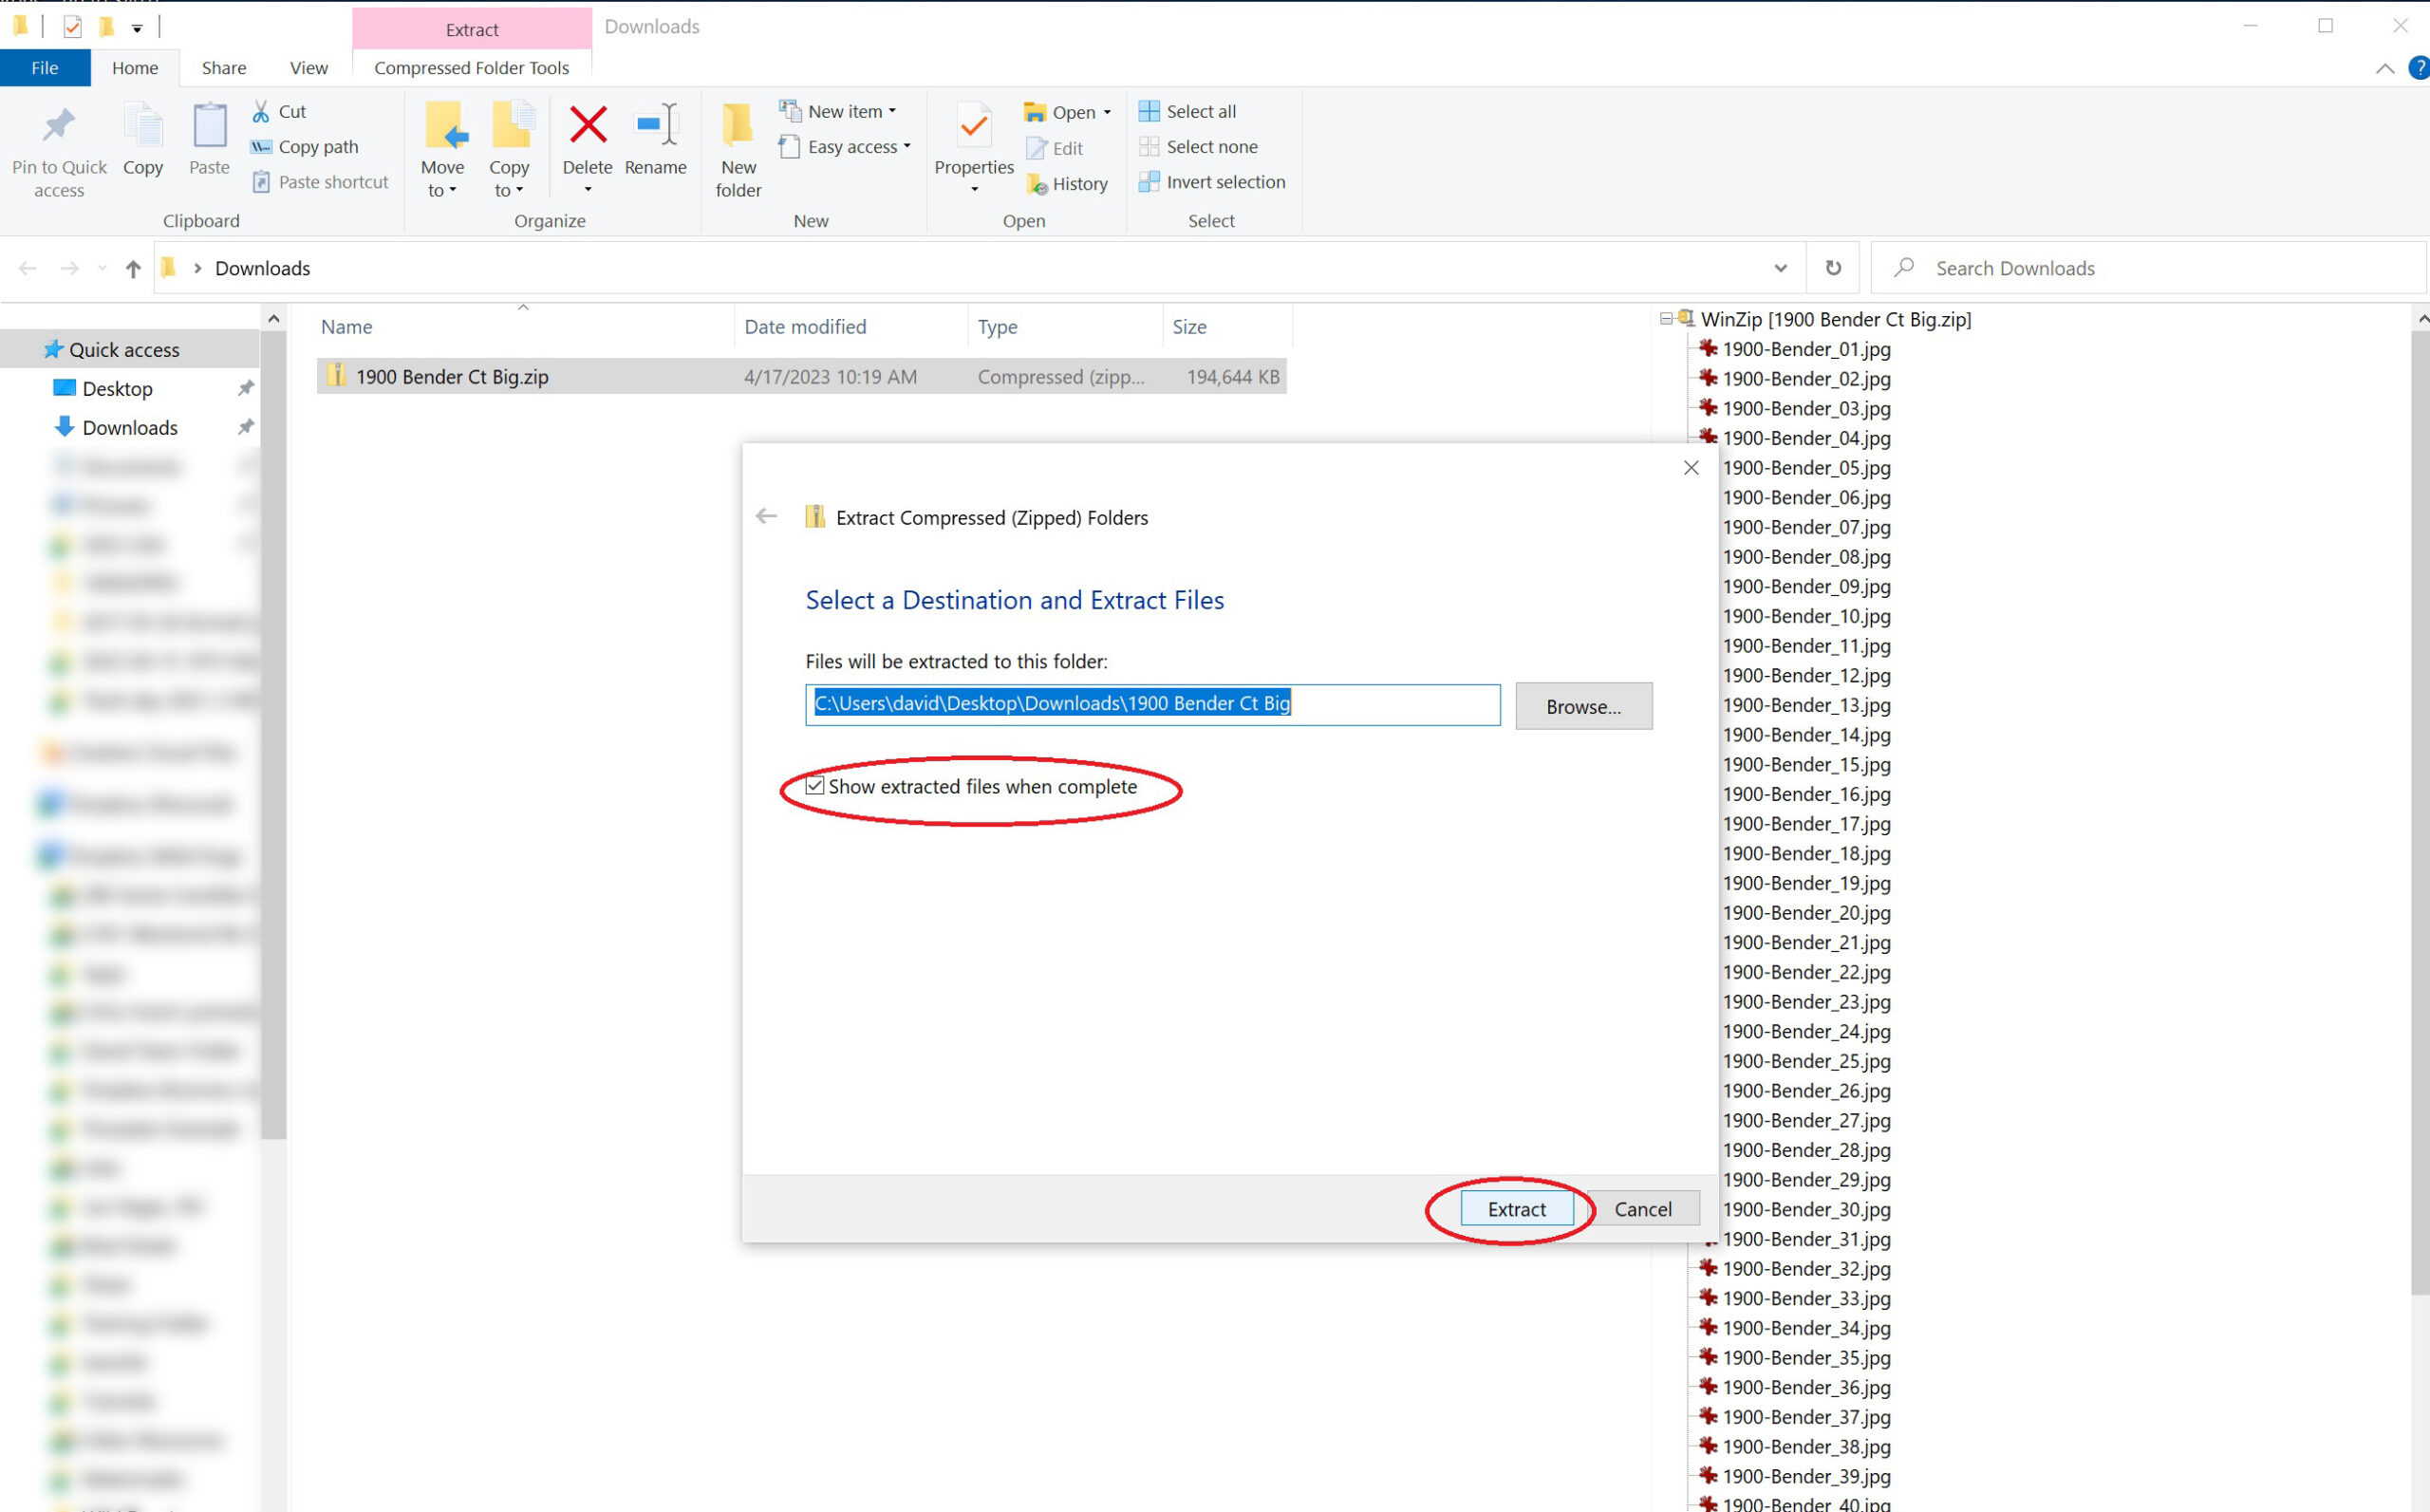
- Now you have the ZIP archive file stored and the last step is to extract the archive to end up with individual images (JPG files).
- Right-click on the file and choose “Extract”. That should create a subfolder or extract the files in the same folder as the ZIP file is located.


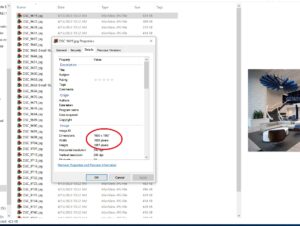
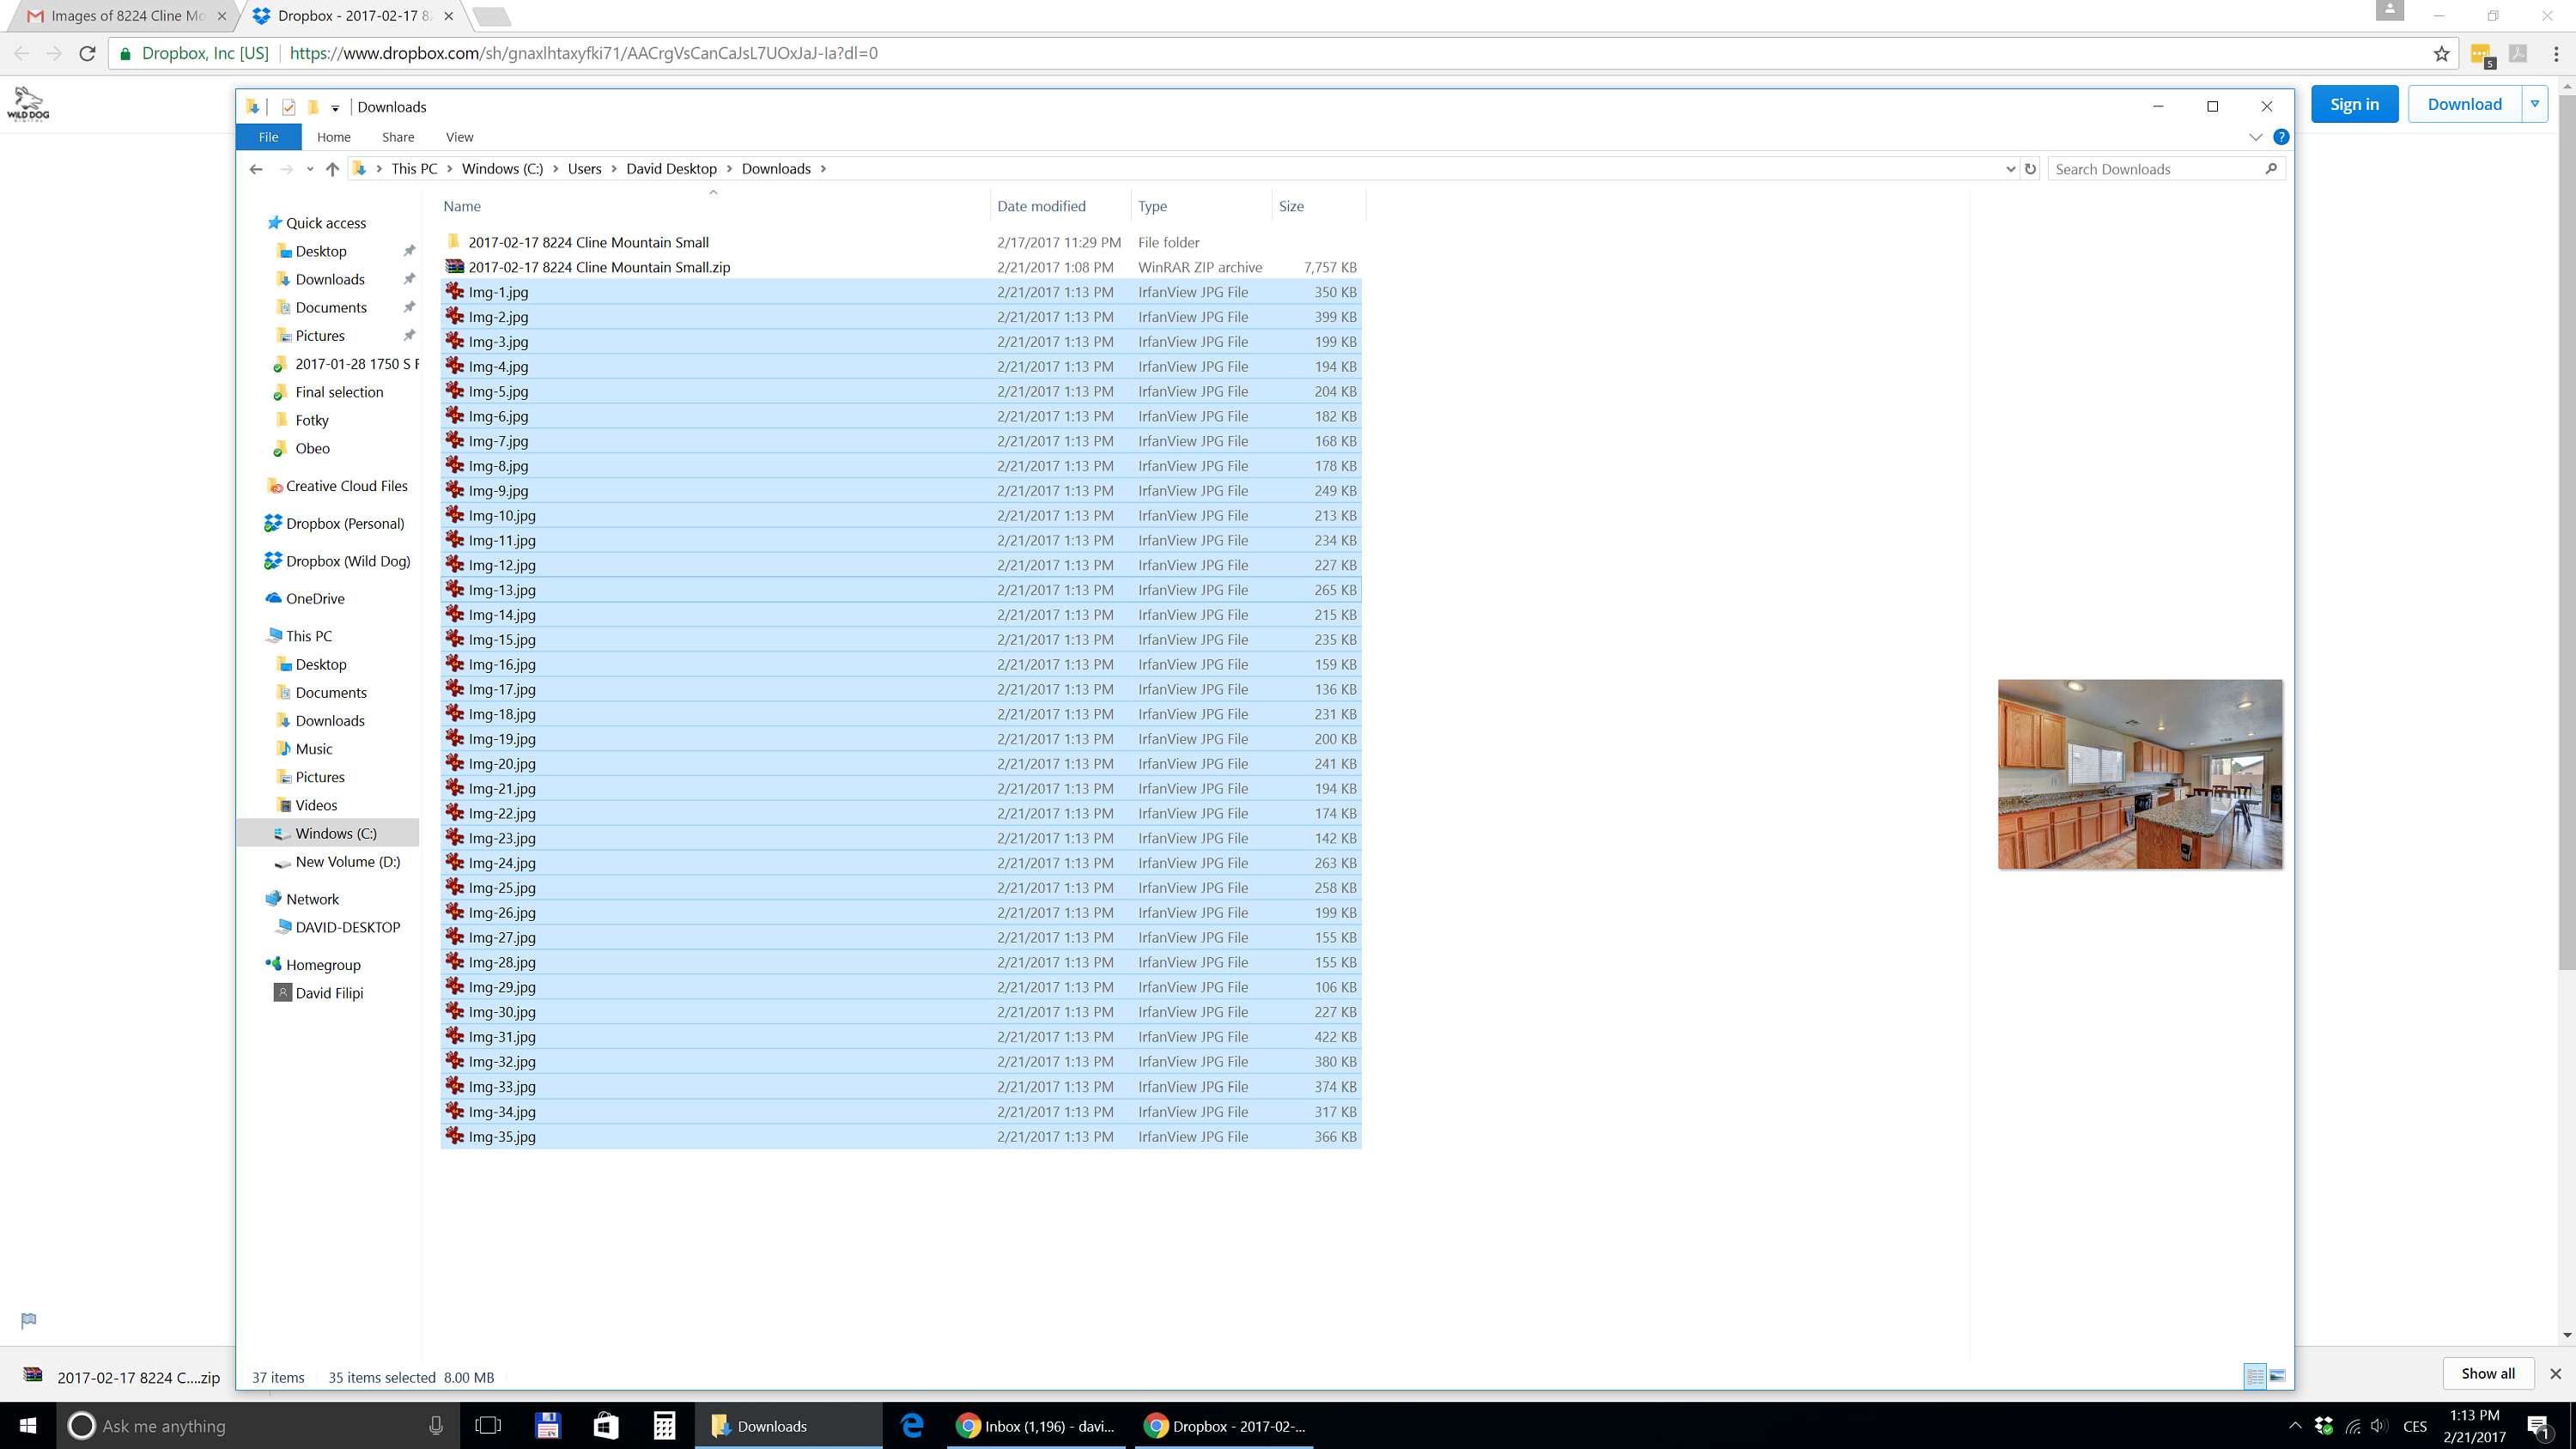
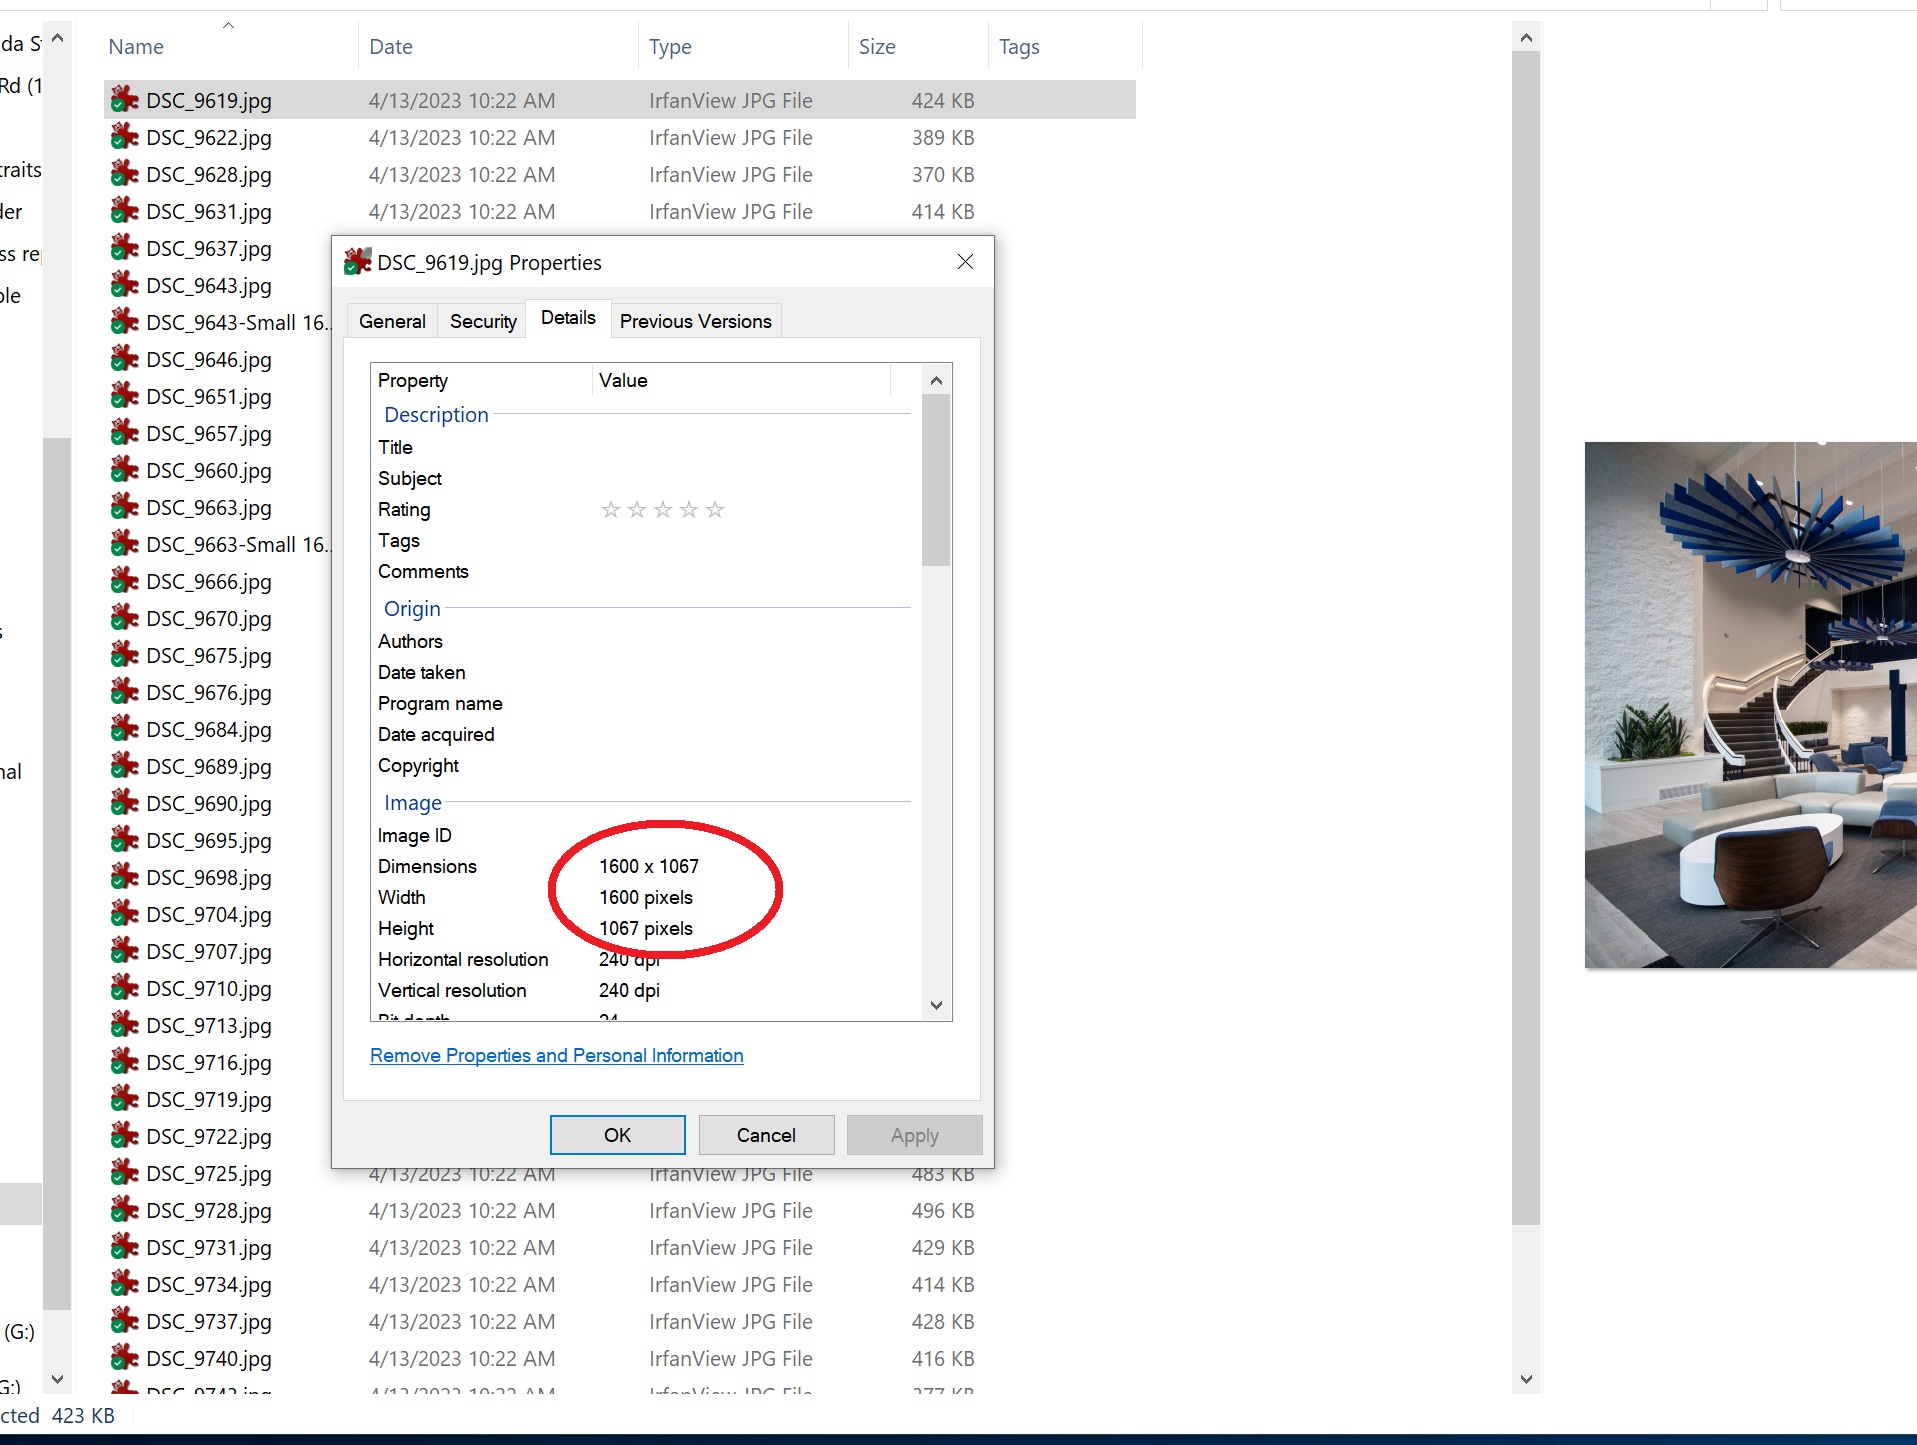
- You should see the individual files and each should have a width approx. 1600 pixels.

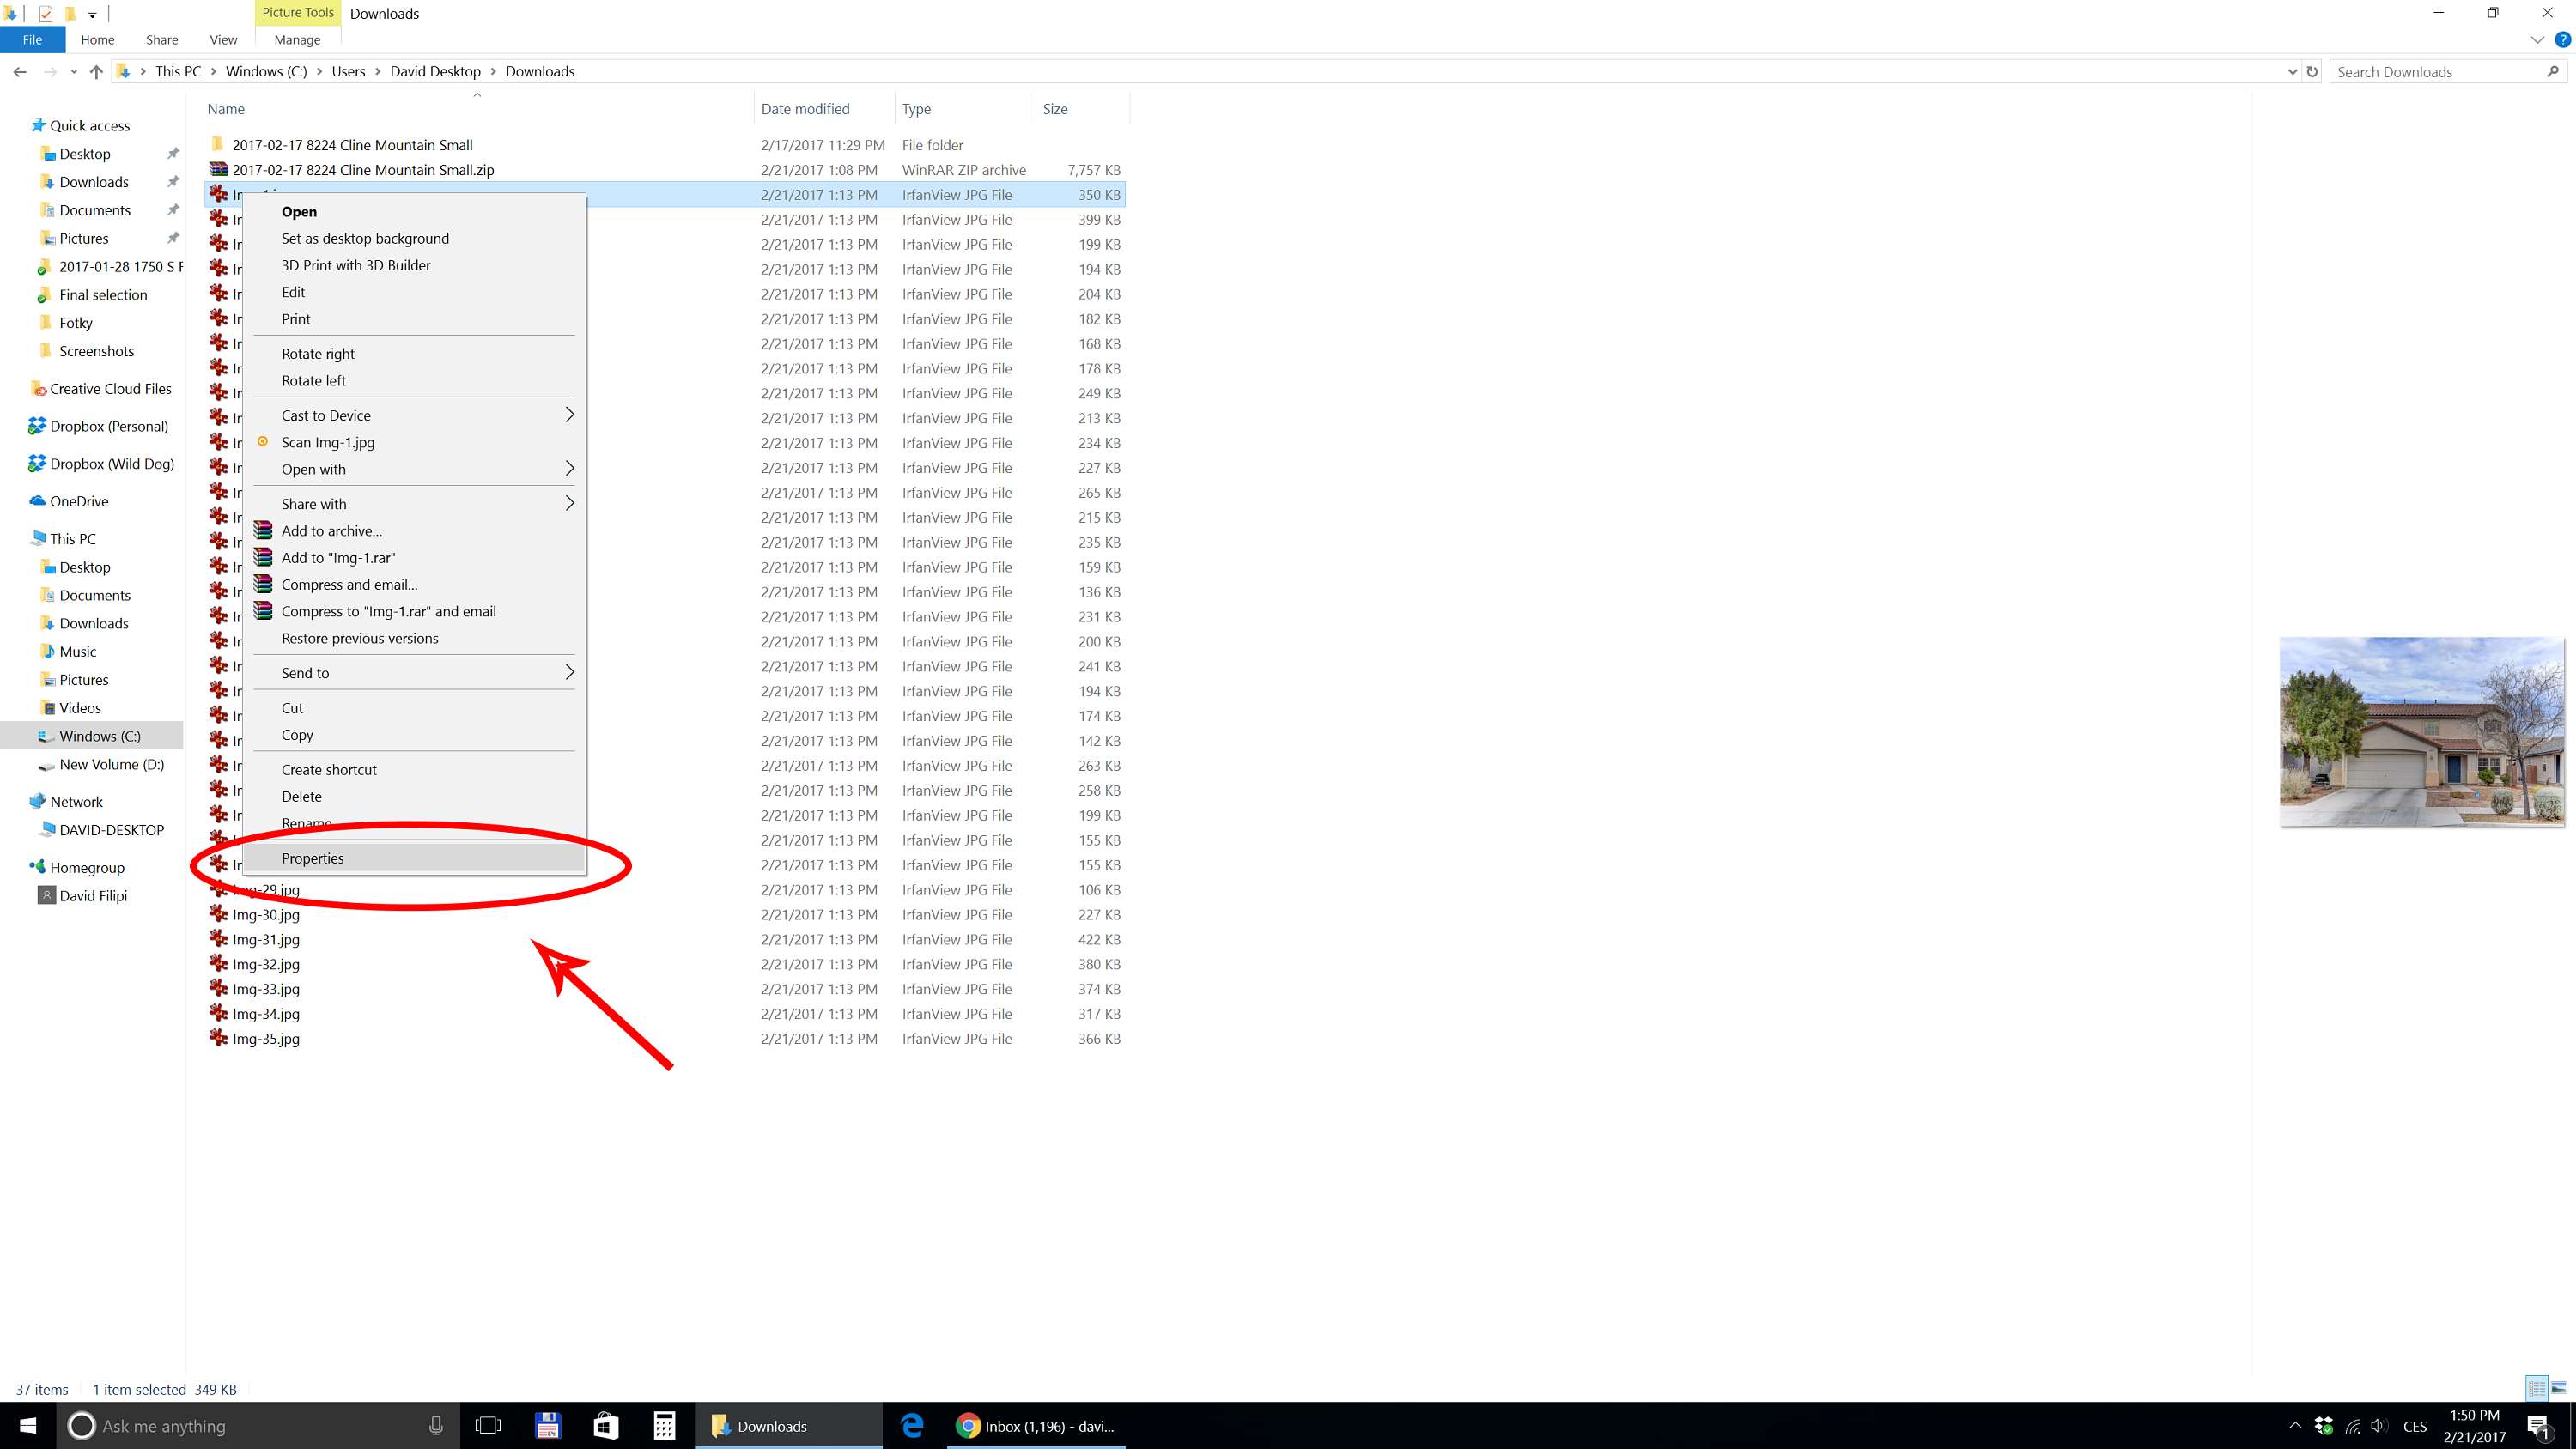
- You can verify the resolution by right-click on the image file name, choosing “Properties” and going to “Details” tab.

Do not use the “Save as…” option in your browser
Most common issue when not following these steps is saving the Dropbox page via your web browser option “Save As”. If you do that, you will end up with very small image files, because the browser will save only those small thumbnails which you see on the Dropbox page.